Fix it yourself.
Save hundreds.

Snap a photo of your broken appliance or fixture — Pocket Handyman diagnoses the problem, compares DIY vs. pro repair costs, rates the difficulty, and gives you step-by-step repair instructions.

Get my free diagnosis

3 free diagnoses every month — no credit card required.

Diagnose from a photo

Snap a photo of the problem and describe what's happening. Pocket Handyman identifies the likely cause in seconds — no manuals, no forum rabbit holes.

See if DIY is worth it

Every report compares the cost of fixing it yourself against hiring a pro, rates the difficulty, and tells you plainly when the job needs a licensed pro.

Guided repair steps

Follow a step-by-step walkthrough with safety warnings flagged before you reach them, plus a shopping list of the exact parts and tools you'll need.

Here's exactly what you get

Two filled-in examples: a leaking dishwasher and a dripping kitchen faucet.

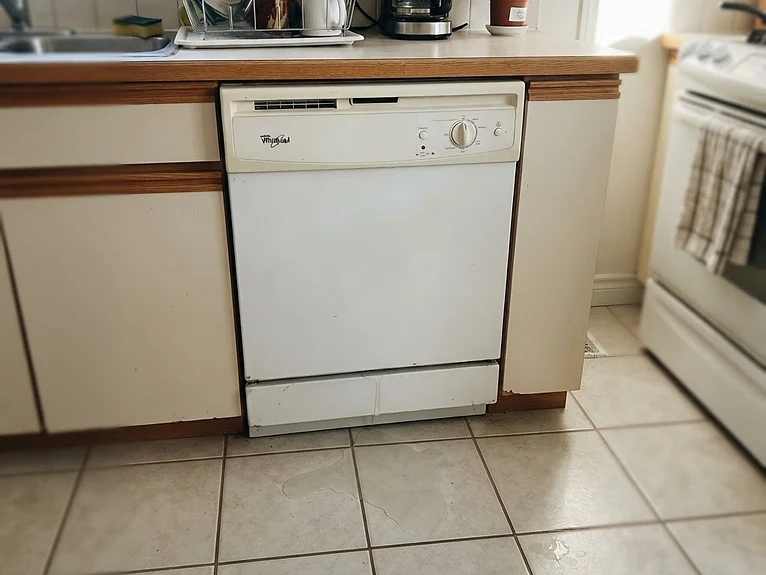
Water leaking from under a dishwasher door onto the kitchen floor Sample photo

Example diagnosis

Leaking dishwasher

“Water is pooling on the floor in front of the dishwasher after every cycle.”

Difficulty: Moderate
Severity: Medium

What's going on

Water is seeping from under the door during the wash cycle. Most likely the door gasket has hardened and lost its seal — a common wear part. Less likely: a cracked seal retainer or a stuck float switch.

DIY fix

$18–$35

~1 hour, door gasket

Hire a pro

$150–$275

service call + labor

Shopping list

Tools: Soft cloth and warm water; check your model's instructions for additional tools.

Repair steps

  1. Switch off power at the breaker and turn off the water supply before starting.
  2. Check the gasket for splits or hardened sections and confirm the replacement matches your model.
  3. Follow the manufacturer's instructions to gently remove the old gasket.
  4. Wipe the gasket channel clean and let it dry.
  5. Press the new gasket evenly into the channel, following its installation instructions.
  6. Restore power and water, then run a short cycle and check for leaks. Stop using it if water still escapes.

Safety first: Do not open electrical panels or work on wiring. Call a pro if the gasket is intact or the leak continues.

Illustrative example, not a confirmed diagnosis. Costs vary by model and location.

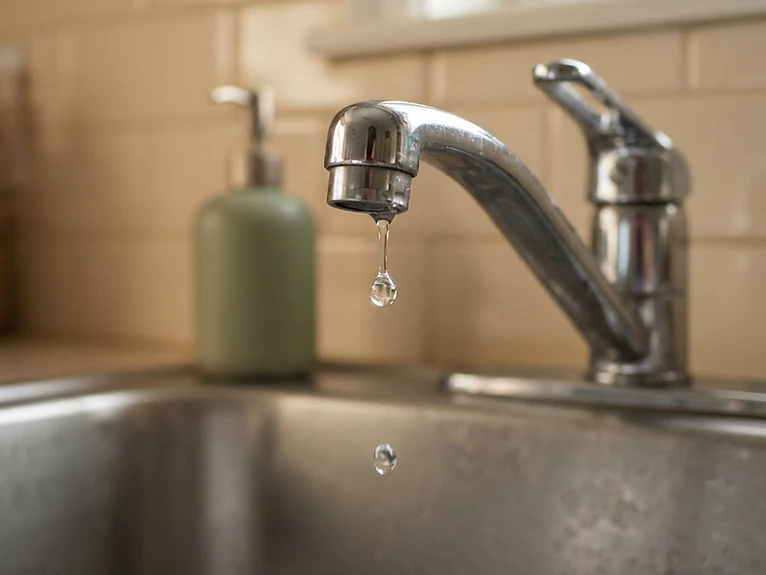
Close-up of a kitchen faucet with a visible water drip falling into the sink Sample photo

Example diagnosis

Dripping Kitchen Faucet

“My kitchen faucet keeps dripping, even when it's turned off.”

Difficulty: Easy
Severity: Low

What's going on

That constant drip is almost always a worn rubber washer or cartridge inside the handle — the seal fails and water sneaks past every time you turn it on. A few dollar part, 20-30 minute fix once you shut the water off under the sink.

DIY fix

$10-15

~20-30 minutes

Hire a plumber

$150+

service call + labor

Shopping list

Tools: Adjustable wrench, screwdriver, plumber's tape.

Repair steps

  1. Shut off water under the sink.
  2. Remove the handle.
  3. Swap the worn washer or cartridge.
  4. Reassemble.
  5. Test.

Safety first: Open the faucet to relieve pressure after shutting off the water. Match the replacement to your faucet model; don't put plumber's tape on washer or cartridge seals. If a shutoff valve won't close, stop and call a plumber.

Illustrative example, not a confirmed diagnosis. Costs vary by model and location.
What can it fix?

If you can photograph it, Pocket Handyman can diagnose it.

Kitchen

Dishwashers · Fridges & freezers · Ovens & stoves · Microwaves · Garbage disposals · Faucets & sinks

Laundry

Washing machines · Dryers

Bathroom

Toilets · Showers & tubs · Vanities · Faucets

Around the home

Water heaters · Furnaces · AC units · Ceiling fans · Doors & windows · Decks & gutters

Your repair is one photo away

Instant diagnosis from your photo

Honest DIY vs. pro cost comparison

Step-by-step guide with a parts list

Get my free diagnosis
Pocket Handyman gives guidance, not a guarantee — always put safety first.